


How railings bolt together: posts, cleats and panels
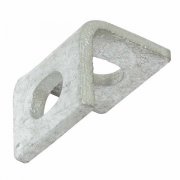
Four cleats per bay carry the panel onto the post, all in M10 hardware with anti-tamper snap-off nuts as standard.
A railing bay is four parts doing four jobs: a post to take the load, cleats to carry the panel, two sizes of M10 bolt to fix the two joints, and a snap-off nut so none of it can be undone by hand once it's tight.
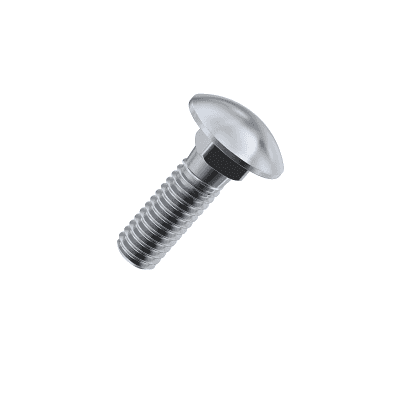
Cleat to post: M10 x 80
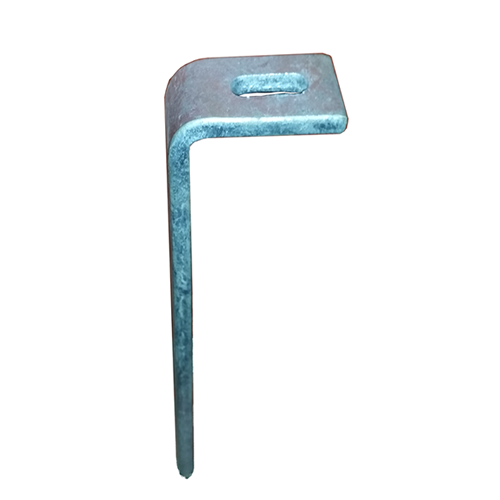
Four railing cleats bolt to the post using M10 x 80mm bolts — long enough to pass through the post section and the cleat and take a nut on the far side. A post in the middle of a run carries cleats on both faces, for the panel arriving from each direction; a post at the end of a run only needs them on one.
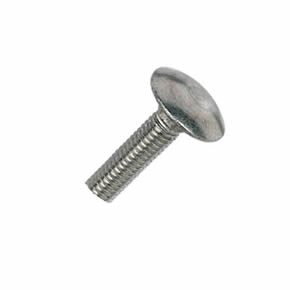
Panel to cleat: M10 x 30, with anti-tamper nuts
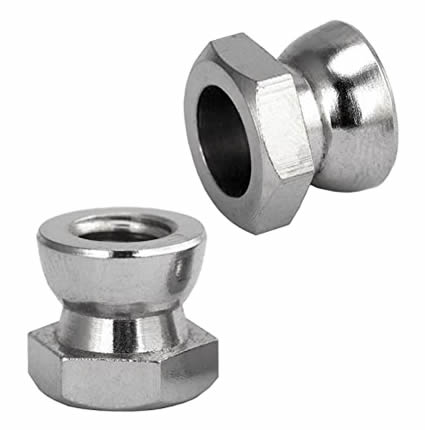
Shorter M10 x 30mm bolts fix the panel itself to the cleats. Every railing panel comes with snap-off nuts as standard — the collar shears off once the bolt is fully tightened, leaving nothing external for a spanner to grip. It's the same anti-tamper principle used across AA's gate and fencing hardware generally.
Fittings
Dig-in or bolt-down
Every railing post is offered as dig-in (concreted into the ground) or bolt-down (onto an existing hard surface). The railing support foot is the base plate used with the bolt-down option — it isn't needed at all if you're setting posts in the ground.
Frequently asked questions
- How many cleats does one bay need?
Four — two on each post face where a panel edge lands, so a mid-run post carrying panels on both sides uses all four.
- What's the railing support foot for?
It's the base plate used with the bolt-down post option, for fixing onto concrete or another hard surface instead of setting the post into the ground.
- Are the fixing nuts tamper-proof?
Snap-off nuts come as standard — the collar shears off once the bolt is fully tightened, leaving nothing for a spanner to grip afterwards.